

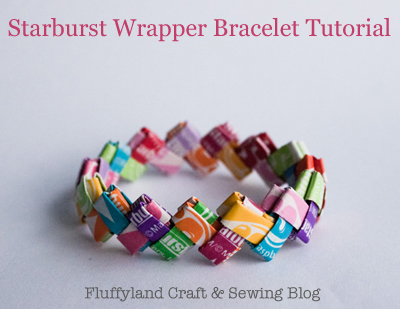
It has long been a fascination of mine to find out how these candy wrapper trinkets are actually made. This seems to be the "easiest" of them all...even though all of them seem to be for the very persistent crafter. It is fun to try though, if you happen to have time on your hands. Here is a tutorial from www.fluffyland.com/blog
Starburst Wrapper Bracelet Tutorial
So, have you been wondering how to make the amazing bracelets from Starburst wrappers? A simple folding method, plus some finishing tips, will help you make your very own Starburst bracelet. Using these simple instructions, you’ll soon memorize the folding pattern, and it’ll be a piece of cake! (or candy..) The average bracelet takes 30-35 Starburst wrappers, so save up! Asking friends to unwrap carefully and “donate” helps quite a bit. Also, to avoid candy binges and sugar highs, unwrapping all your Starbursts and saving them in a ziploc bag for later munching is helpful.
Keep in mind that when you have finished, you need the bracelet big enough to slide on and off your wrist without too much trouble. Because of the folding method, the bracelet will stretch slightly, so this shouldn’t be much of a problem.. but be careful.
Click on any of the photos for a larger view.
Step 1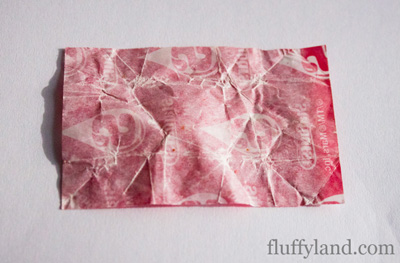
Take your first wrapper… and flip it over.
I know, it’s tricky.
Step 2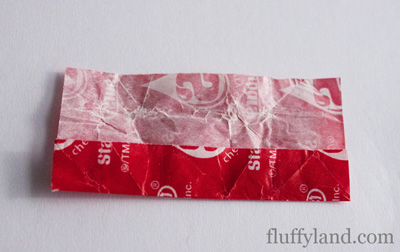
Fold (hot dog) one side in to the halfway point.
Step 3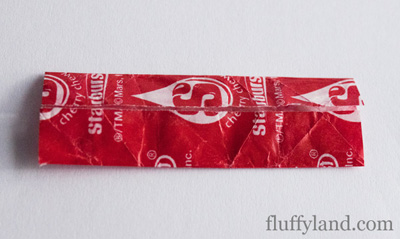
Fold (hot dog) the other side to the halfway point.
Step 4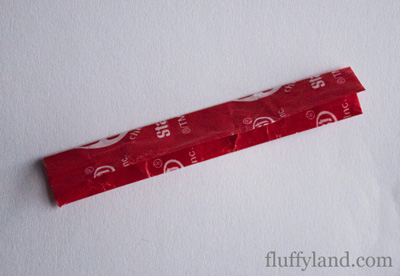
Next, fold (hot dog) the whole thing in half so the raw edges you just folded are on the inside crease.
Step 5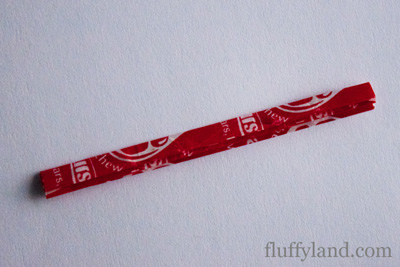
Fold (hot dog) in half again.
Step 6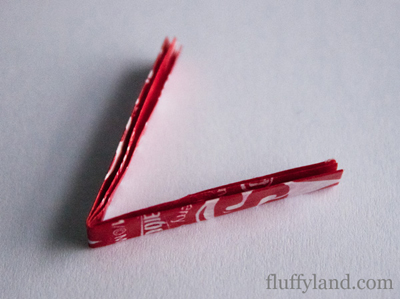
Fold (hamburger) in half.
Step 7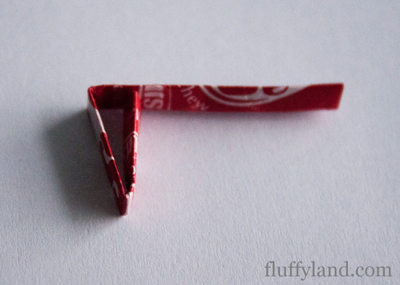
Fold (hamburger) one side to the halfway point.
Step 8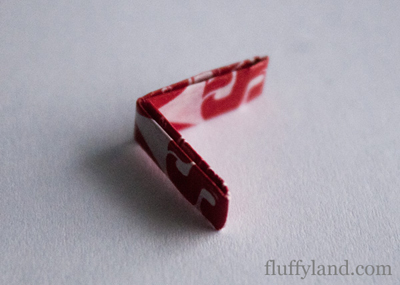
Fold (hamburger) the other side to the halfway point.
Repeat steps 1-8 with the next wrapper.
Step 9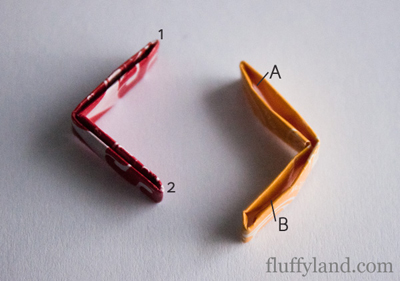
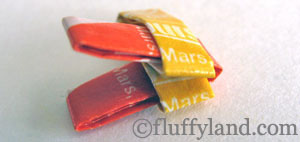
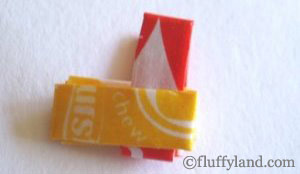
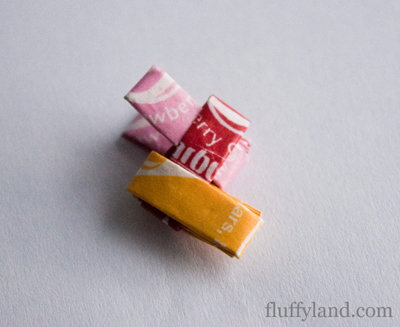
Insert points 1 and 2 into slots A and B, so it looks like this: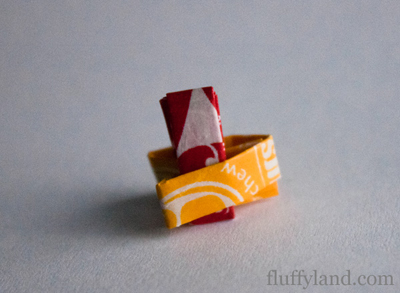

Step 12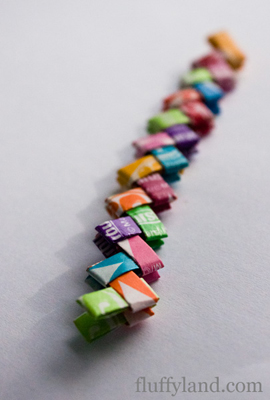
… until you begin to build up a chain.
Step 13
Once you have reached the desired length… this is where it gets tricky.
Step 14
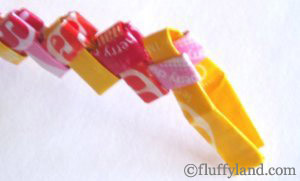
.. fold one more wrapper the same way as the others, but then unfold the last two folds. Insert these raw edges into the same spots in the “V”.
Step 15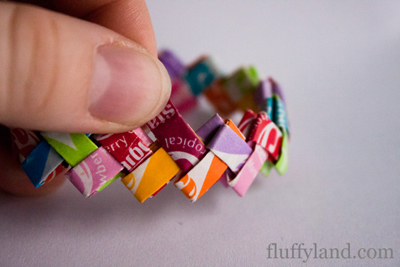
Pull the two ends of the bracelet close together, and hold the edges of your long “V” over both edges of the end of the other side.
Step 16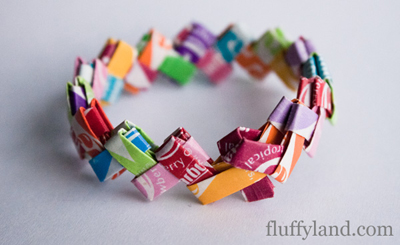
Insert the raw edges into the first wrapper. You’re doing the same thing we’ve been doing, but backwards.
Step 17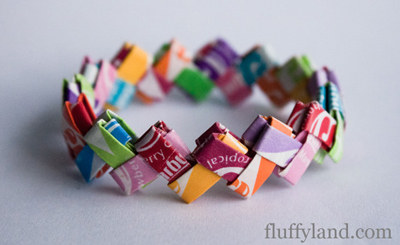
Pull ends through until you reach the original folded point.
Step 18
Tuck the raw edges into the previous wrapper, so it looks just like the other wrappers in the chain.
tip! at this point, i find it helpful to use a paperclip or similar item to push the wrappers through.


No comments:
Post a Comment