I really love art made from recycled items. Sometimes I just google a recyclable item and see what people are making out of them. A couple of nights ago, I googled "magazines" with the word "recycled" and "art" (with probably a few different variations), and discovered this pretty simple little tutorial on making envelopes and cards from recycled magazines. I thought they were adorable, and helped create a unique touch to any note card you might want to send. The possibilities are endless with this tutorial, so have fun with it. I'm in the process now of experimenting with it, along with my zillion other projects I've got going on. Special thanks to www.estelledeparis.com for permission to put her tutorial on my blog. She's very talented and I would encourage everyone to check out her blog and etsy shop :)
What do you need?
-Magazines
-An X-Acto knife
or a pair of scissors
-An envelope you take apart or a template you made in illustrator, photoshop or that you draw.
-A fine point or ultra fine point sharpie
-A ruler and/or a triangle. Triangles are neat to mare square edges.
-Glue
-Craft paper, card stock
-Optional: Lick & Stick Envelope Glue 1.5 Oz. Remoistenable or scrapbook/photo mounting tape You might consider getting some if you sell them or if you give them as a gift
Note:
-I use 3 different size templates that I lay on the illustrations I preselected and use the one that covers the picture the better.
The Envelopes
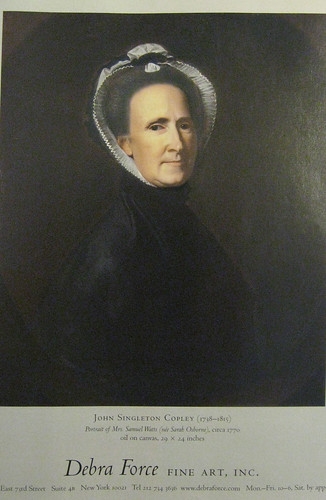
For this tutorial I’ve selected a painting from the magazine antique, one of my favorite source for making those fancy envelopes of mine.
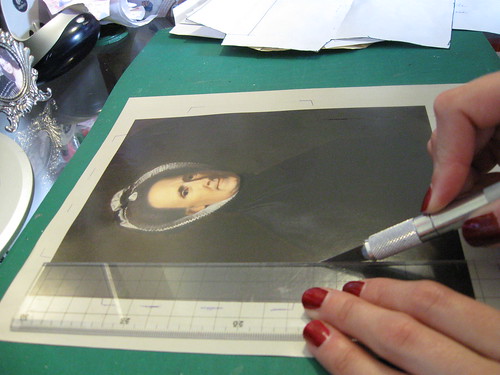
1.Lay your template on the picture and outline with a pencil.
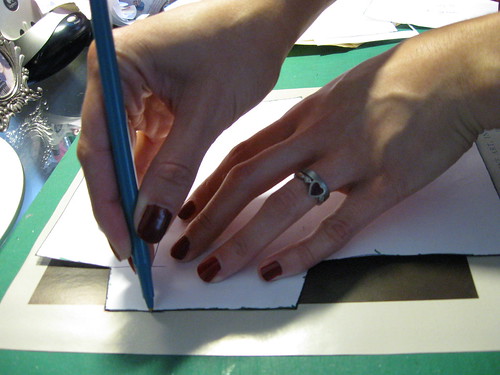
I personally prefer to cut paper with an X-Acto knife as it makes the edges perfectly straight but if you don’t have one, scissors work fine.
It should look like this
3.Fold the flaps.

It should look like this.

4.Line the inside. (Optional) You can line the whole envelope or just the flap, it’s up to you. Just note that lining the envelope makes a thicker material that would not rip easily. It can be a good idea if you consider mailing it.
First, make a template of the desired size. I copied the envelope template and cut it.
Glue your flap.

5. Glue the side flap and the verso of the envelope.

Recto
Verso
You can make tons and tons of them!
The cards
Depending on your selection you can make one that opens like a check book or one that opens like a regular book or a single sheet one. Here are a few exemples.
For this tutorial, I chose 3 pictures that I thought were matching the style of the envelope and decided to make a “tryptich” card. It is up to you and what you have to work with. I find it easier to make the card around preselected images rather than make the card and illustrate it afterward.

1. Make the card 1/8″ smaller than your envelope all the way around. It is very important to do so or your card will not fit the envelope!!!
2 Outline your picture with colored paper or card stock.

3.Glue the pictures on the card and voilà!


Cool! Never really thought about all the things you could do with magazines before. This helped me out, thanks!
ReplyDelete